


Making a 35mm Matchbox Pinhole Camera
- Taylor H
- May 2, 2018
- 4 min read

Since the coffee tin pinhole camera wasn't working and I was in a bit of a pinch in terms of making some final pieces, I decided to go for a more 'reliable' pinhole camera, using a matchbox, and some 35mm film. This was a lot of fun to make, even though I did nip myself with a scalpel a few times.
The first step you need to take in order to make a matchbox pinhole camera is to acquire a matchbox. I went for a nice box with the word "SHIP" printed on it, with it's namesake below. It obviously doesn't matter what's printed on the box, but size matters (in this case). You need to get a small matchbox, because they fit 35mm film inside perfectly. If you get a large matchbox, you might need to do some adjustments to the measuring, and you'll end up exposing more of the film than is necessary.
Then, you must get a ruler, and draw an 'X' from one corner to the other. This allows you to draw a rectangle in the center. You don't necessarily need to measure the size of the box (I didn't), you just draw the size you want. I think I went for a decent size, but in future I might go for a bigger square so I can fit more in to the scene. The more rough you cut this out, you will be able to see the fibres of the cardboard in the exposure.
After you cut that rectangle out, it's time to do the same thing on the front, but this time a lot smaller. This is where the light is going to get through. Again, it doesn't really matter how small or big you make this, just as long as the piece of aluminium you cut out fits over it.
Once everything is cut out, it's time to colour the insides of the box in completely black. I went with a Sharpie, but if you had a lot of time you could use a biro too. In future, I might go around the border with a blue or red pen, to see what would happen. I think that the light would be reflected instead of absorbed by the black, so the border of the image would be a hazy red/blue.
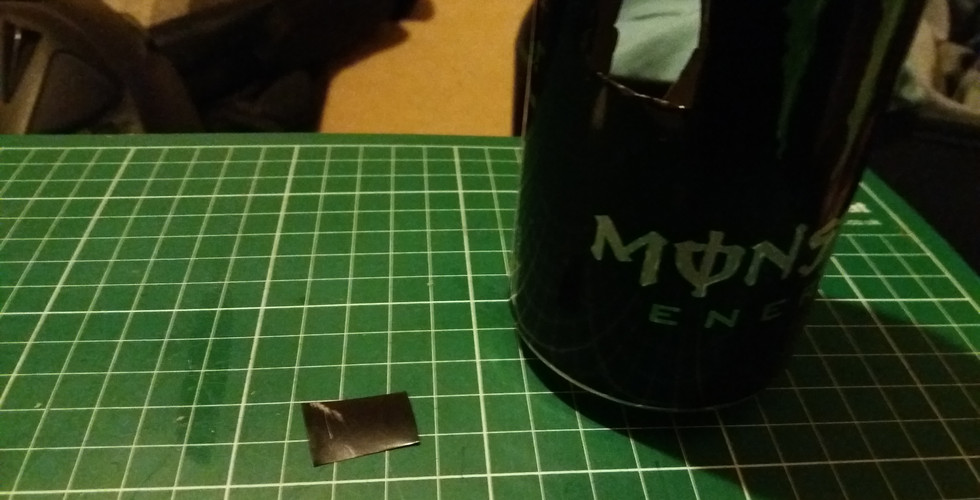
Afterward, you should cut out a small square out of an aluminium drinks can. Make sure this goes over the smaller hole on the front of your matchbox, because this is going to be your lens. You must then poke it in the middle with a pin. You don't want to go all the way through though, because the smaller the pinhole is, the sharper your image will be. The way to get the smallest hole possible is to press the pin into the metal until there is just a bump, and then sand it until there is a very tiny hole. I didn't have any sand paper available though, so I just slowly pressed the pin into the aluminium square bit by bit until I could see light through it. You must then tape it over the hole in the front of the matchbox. I made a bit of a mistake using a bit of aluminium with black printed on it, so I couldn't properly see where the hole was. I still managed to get it roughly in the center though. You must use black electricians tape though, to reduce the amount of light that gets in.
Then, a piece of card with a square cut out of the center (to make sure the pinhole shows through) gets taped over the top of that, leaving the top open. This is where the shutter gets inserted, which is just a thin strip of cardboard.
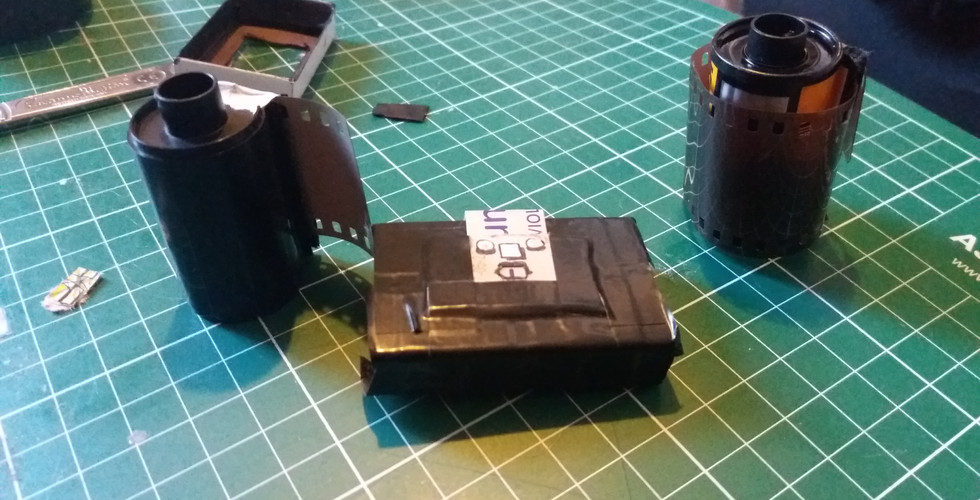
Now that the base camera is made, it's time to add the film. You should have one empty roll with a little tab sticking out, and one roll of unused film. I went with Kodak Ultra, with 24 exposures available (With pinhole photography in this fashion, the amount of exposures is up to how much you wind the film between each photograph). Cut the end off the unused film, and tape it to the tab with clear tape, and start to wind it into the canister. Make sure that the film is going through the matchbox first though, or it will be very difficult to get it through. Also, the tray with the big rectangle cut out of it should go over the film, making a frame. Now, you should tape over the film canisters, making sure no light can get through. To make it easier to wind the film up, put a ring pull from the drinks can you cut earlier in the empty canister, so you can use it for leverage.
And viola! You now have a pinhole camera. you can set it up anywhere you want. What's great and unique about these cameras is that they are very small, so you can put them in positions that you couldn't put a bigger SLR camera, resulting in some interesting points of view.
Below are some photos I took whilst making the camera.


Comments